
")
If you want to create a bootable USB Flash drive using Dell Diagnostic Deployment Package (DDDP), please follow this article.
1. How to Create a Bootable USB Flash Drive
There can be occasions that you may need to create a bootable USB Flash Drive. This may be so that you can perform a BIOS update out with the Operating System, or that No Operating System ie. Windows, is installed. There may be difficulty getting the BIOS updates to work within the operating system, either due to, permissions, restrictions on the operating system, anti-virus, or compatibility with the update schedule.
There are a number of different ways to create a bootable USB Flash Drive. One way is to use the Dell Diagnostic Deployment Package (DDDP).
2. Download the Dell Diagnostic Deployment Package (DDDP).
You can create a bootable USB Flash Drive using the following instructions:
- Download the Dell Diagnostic Distribution Package (DDDP) from the following URL:
http://ftp.us.dell.com/diags/CW1322A1.exe- The File Download window will show. Select Run to download the software.
- A User Account Control (UAC) window may appear. Select Yes to continue download process.
- The Dell 32 bit diagnostic window will appear. Select Continue to progress.
- The folder creation window will appear. Select Ok to use default folder.
- A Dell Diagnostic dialog window will appear stating “all files were successfully unzipped” . Select Ok to continue.
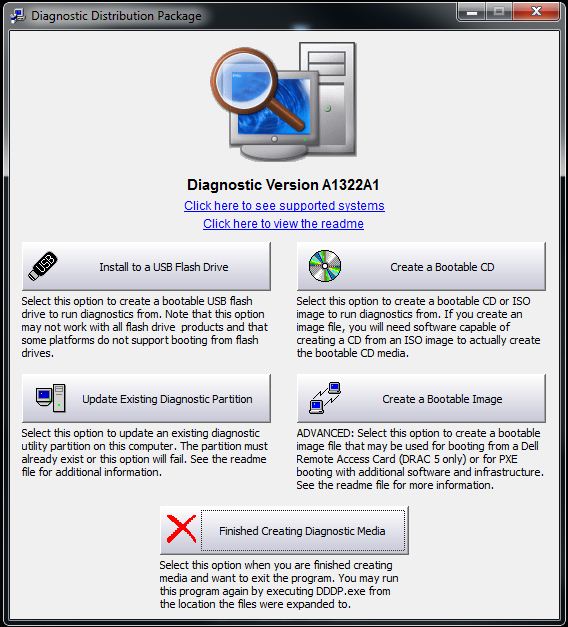
The DDDP main menu will appear. Close the window by clicking on the X on the top right hand corner.
- Navigate to the folder that DDDP was extracted to (Default Location:
C:\Dell\Drivers\R174621) and select the DIAGS folder.
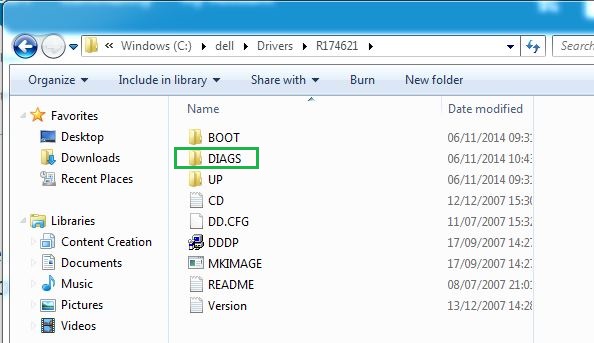
- Open the DIAGS directory and remove everything, Except for the following :
COMMAND.COM
DELLBIO.BIN
DELLRMK.BIN
AUTOEXEC.BAT
CONFIG.SYS - Insert a USB Flash Drive.
- Navigate to C:\Dell\Drivers\R174621\ and double click on the application DDDP
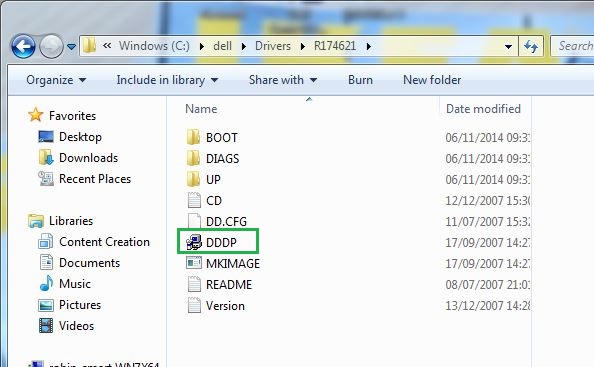
Run the DDDP utility and choose “Install to a USB flash drive“. This will make the USB Flash Drive bootable.
- Restart the system and at the Dell logo, press <F12> to enter the One Time Boot Menu.
- Select the USB storage device to boot to the USB Flash Drive.
- The system will now boot to a command prompt and display C:\>
- From here you can update the BIOS, see the Note below for more information.

Leave a comment